Meet Sherman
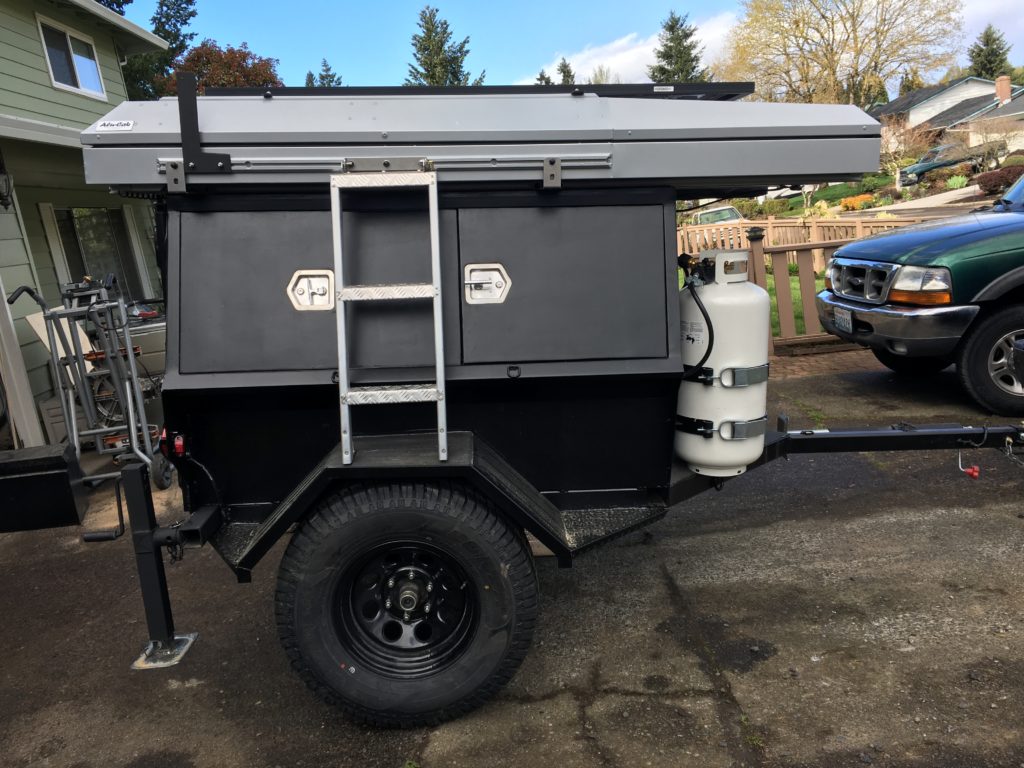
Sherman is best described as an expedition trailer. We originally bought a home built, open bed utility trailer from a man in Oregon. We thought we could just enclose the walls and hit the road. Since we are both Engineers and Andy is determine to make things better, a re-design was started.
It took us 8 weeks to design, weld, grind, measure, cut, sand, fit, epoxy, paint, and soooooo much more. For those who are interested, here are some of the things we did…
Trailer Body:
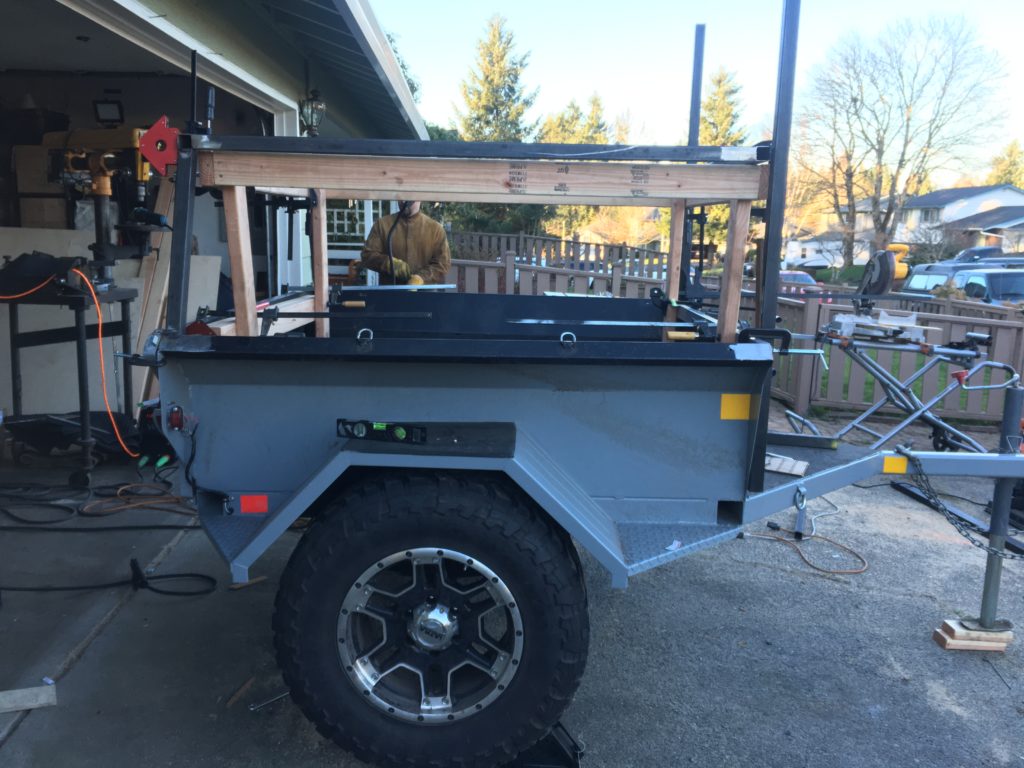
Since the trailer was originally designed for a soft shell roof top tent (RTT) and we already owned an Alu-Cab RTT (solid frame aluminum), we decided a more robust top frame was needed. So we dismantled the current top and started welding new uprights and top frame. Luckily, Andy has some previous experience with welding so we were able to rent a stick welder and get to work (please understand that we are not professionals!).
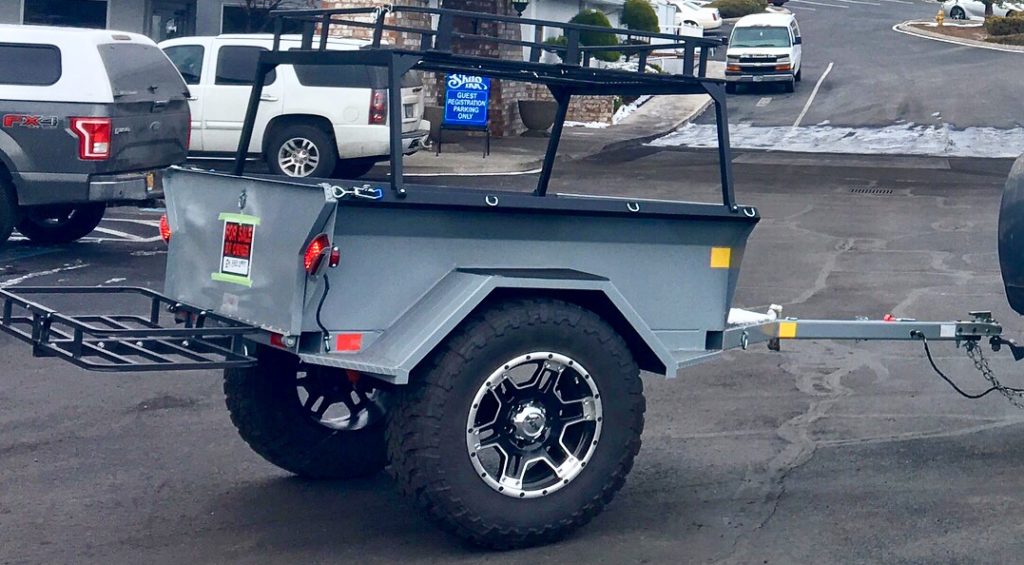
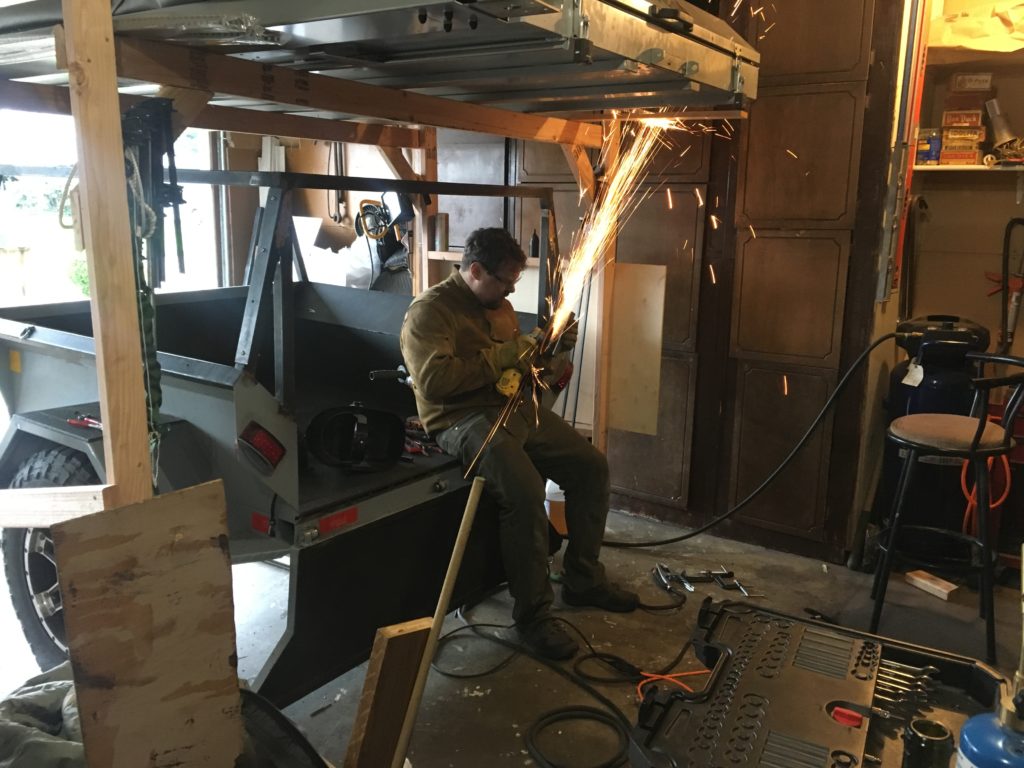
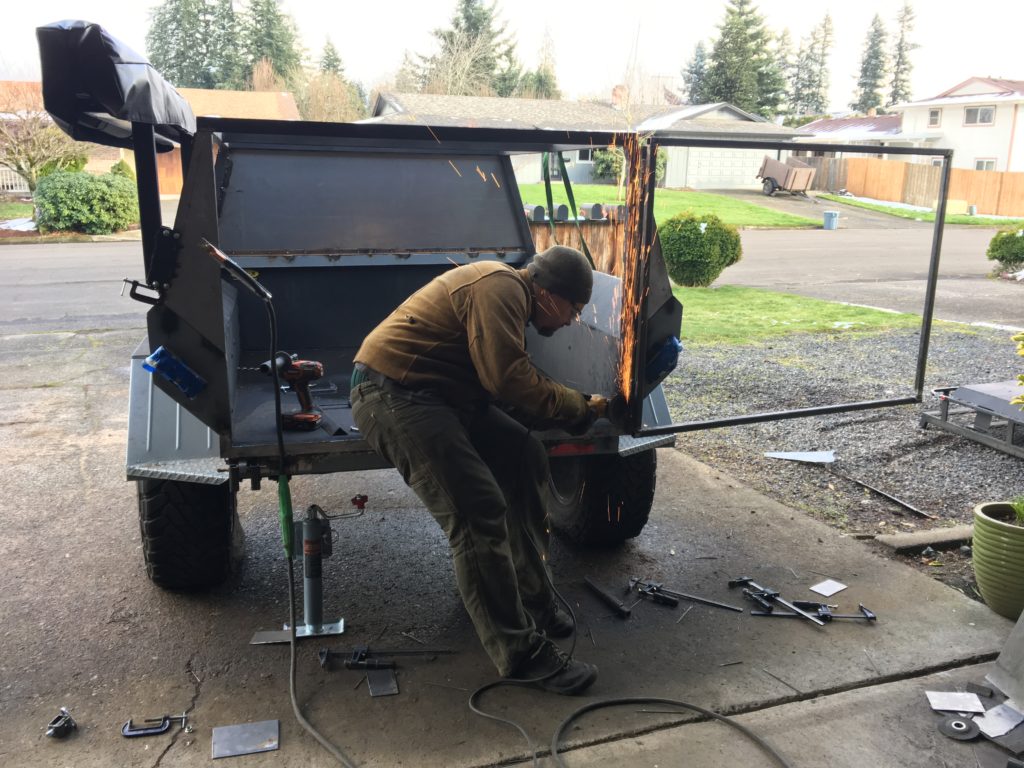
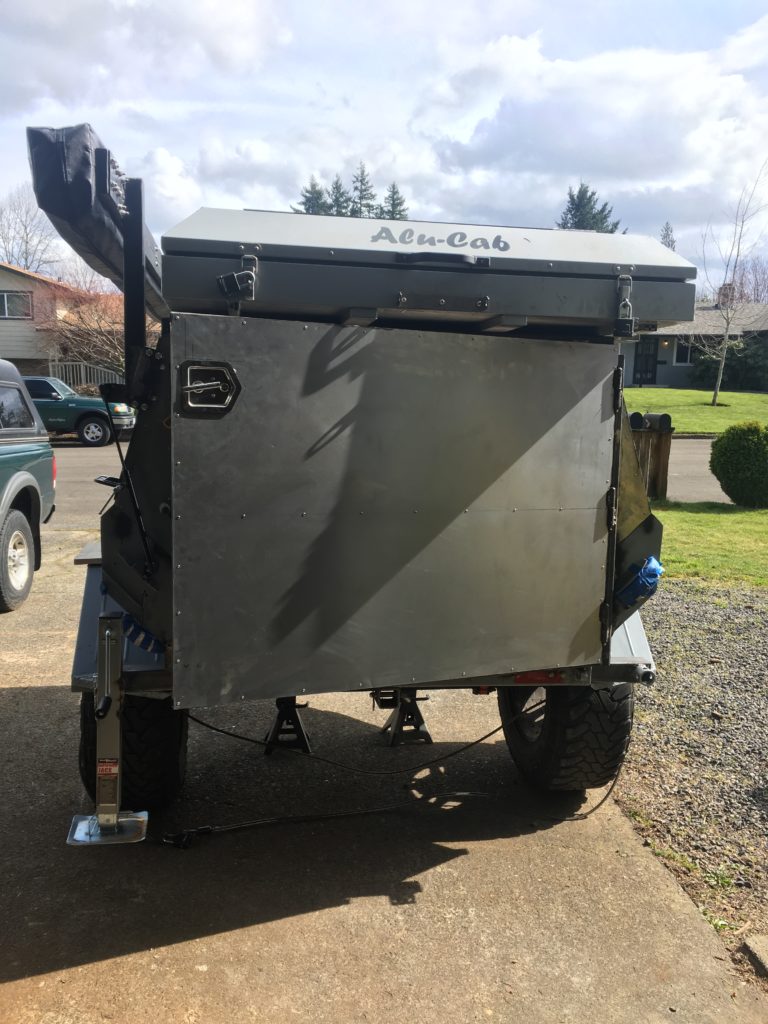
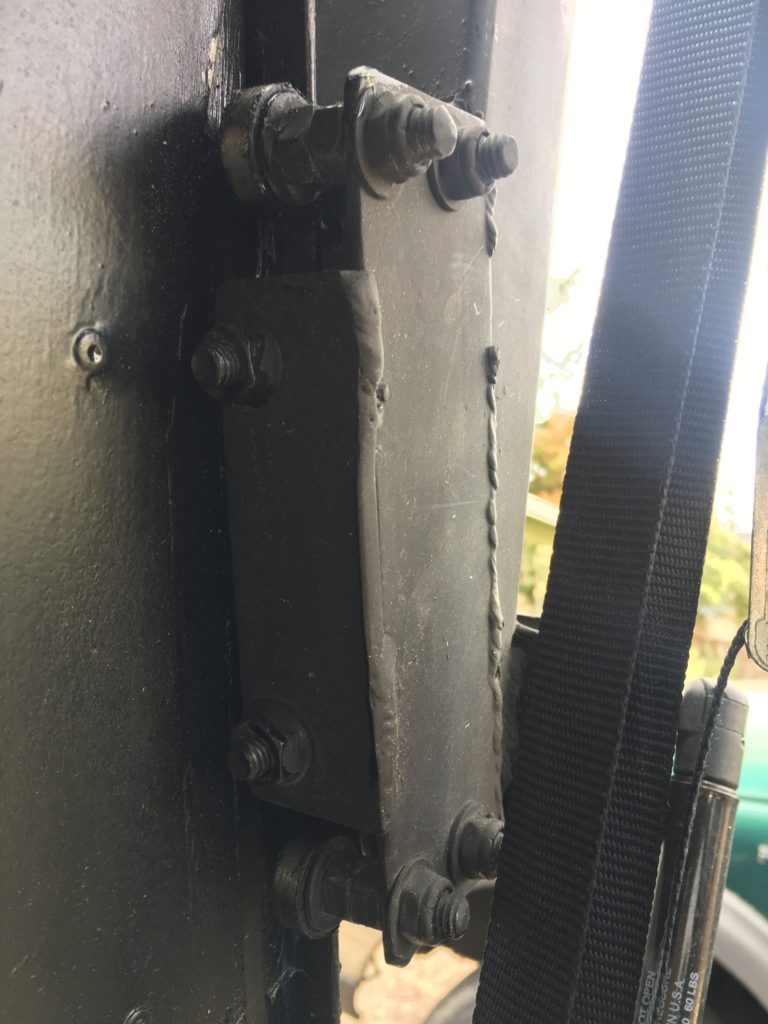
The original trailer had a drop down tail gate. We really liked this tail gate but we could not figure out how to seal it. We need this trailer to be waterproof and so another re-design was in place. Andy welded a 1″ square tube frame together and we added 1×2″ tubing in the middle (for structural strength). We also decided to use 4.5″ weld on hinges for even more strength and reduce any sag. The final door is using 1/16″ sheet metal, held on with Sikaflex and rivets. We also decided to use two locking handles on the back.
Awning:
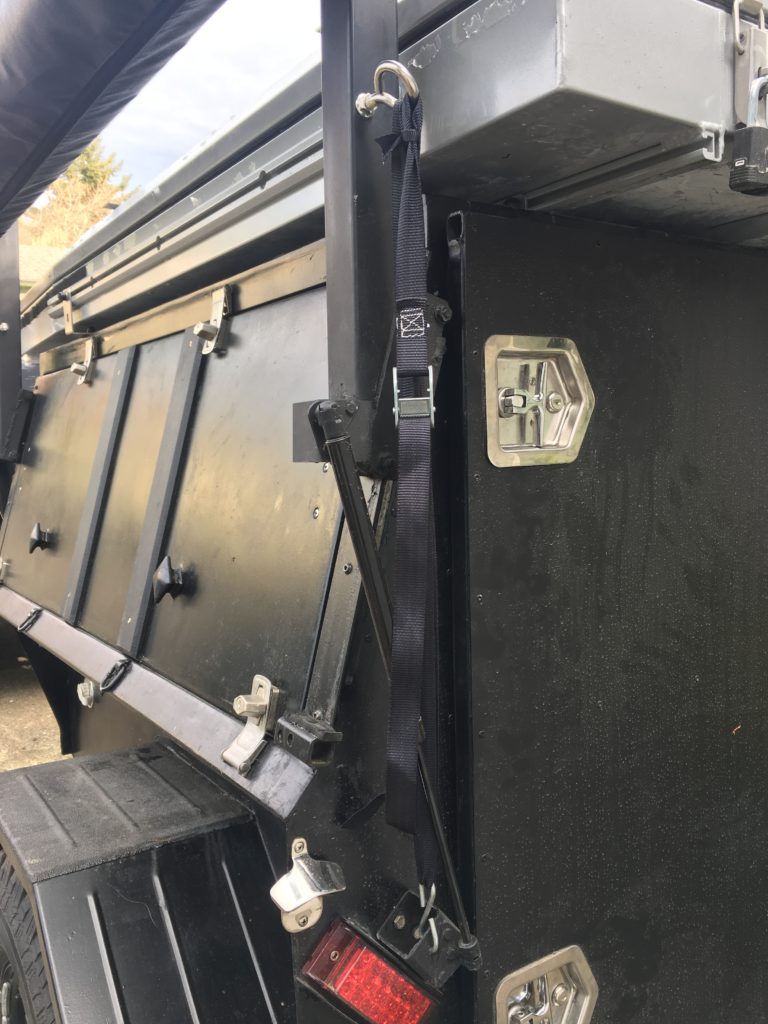
As you can see in the above picture, we have our Alu-Cab awning and RTT mounted to the trailer. The awning was another engineering feat! Our issue is that we decided to mount the RTT lower then previously planned. This will help with driving wind resistance as well as lower center of gravity. That meant our awning could not be directly mounted to the RTT (like it is designed). So…. an entire new mechanism was designed and built!
The mechanism (aka death sleds) is actually a beautifully designed system. The sleds ride up and down along a rail, this allows for lower height while traveling but raised height while camping.
The Inside:
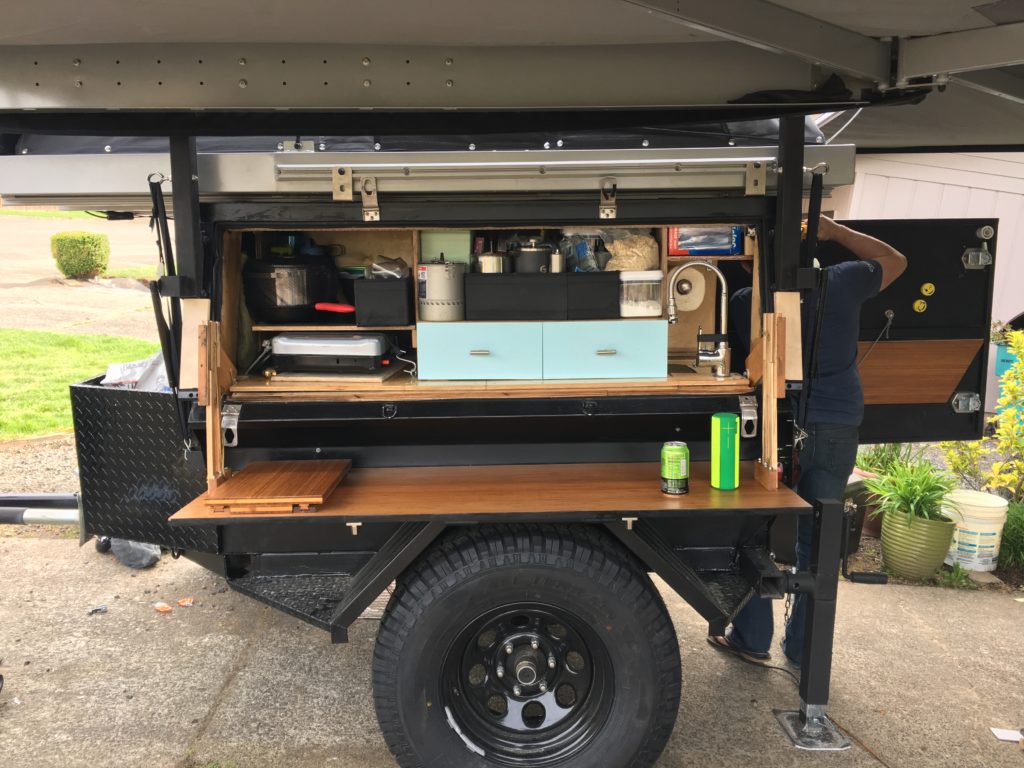
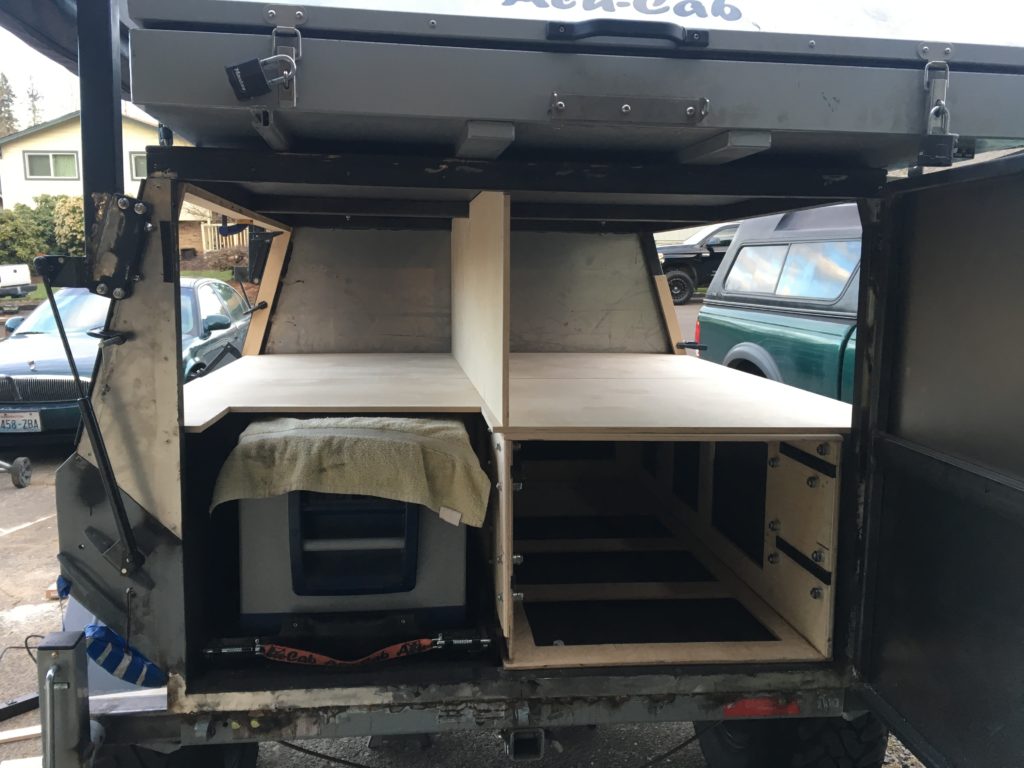
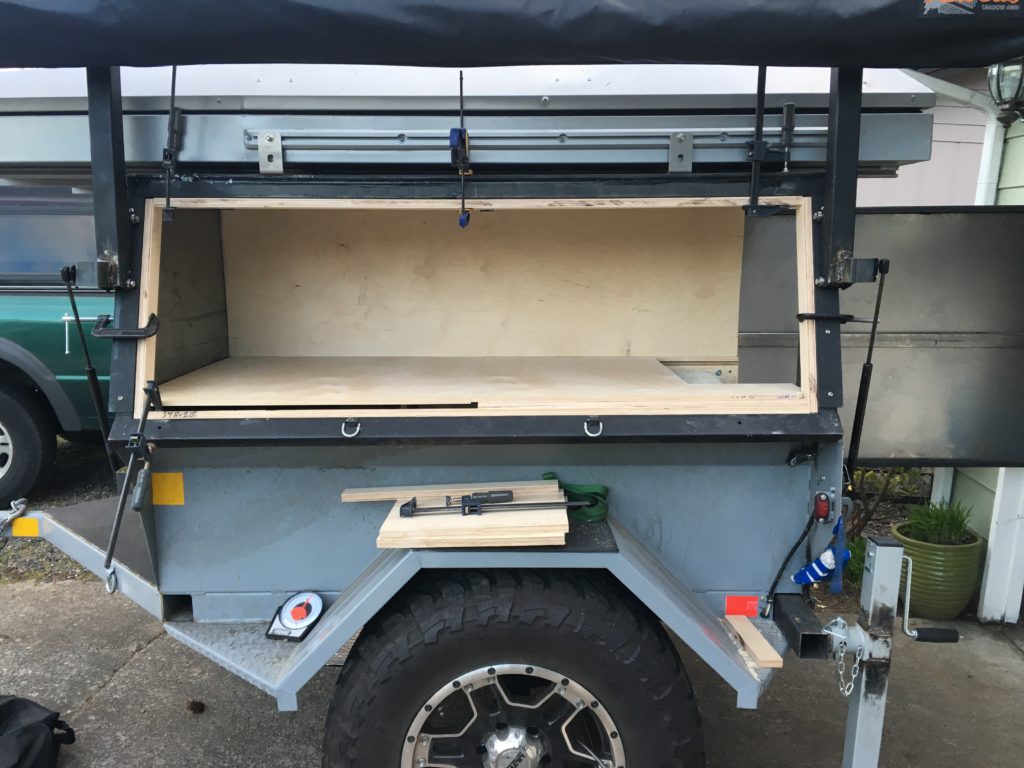
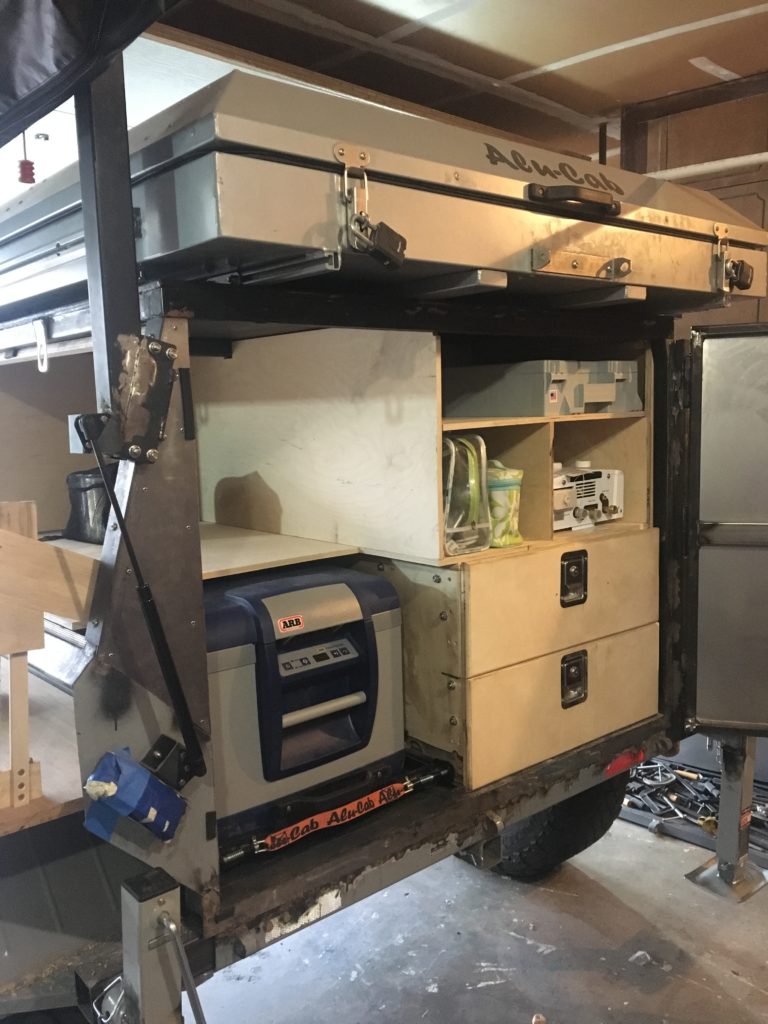
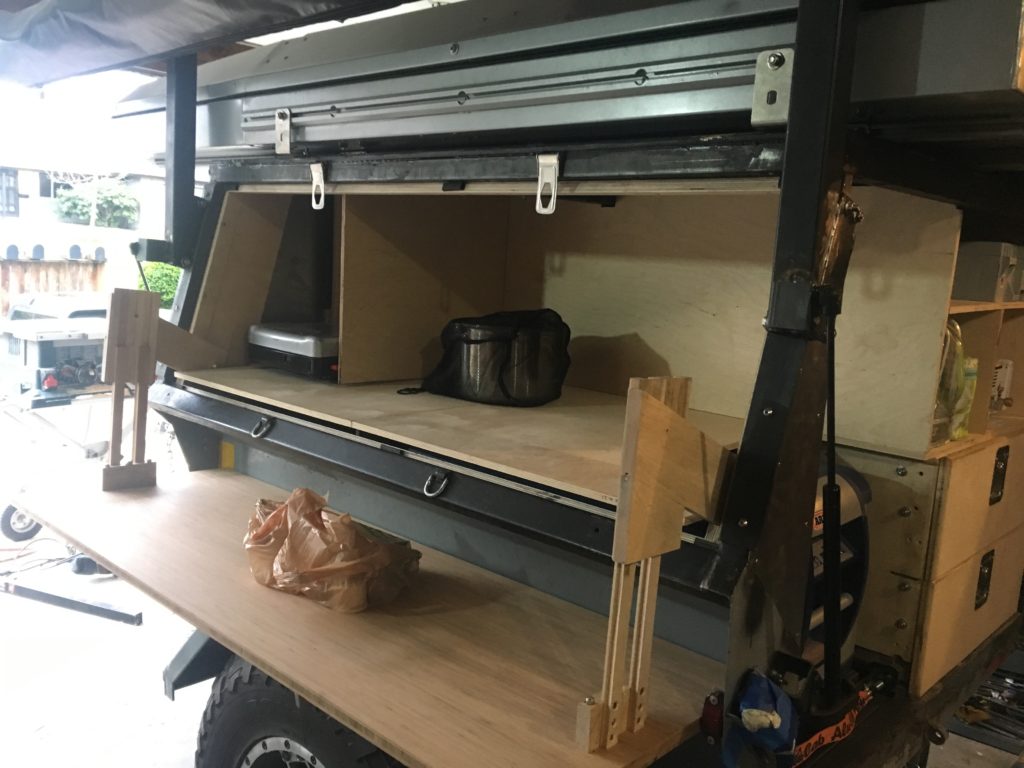
Inside of the trailer needs to house our; ARB fridge, two drawers, a full kitchen, water system, tankless propane heater, portable toilet, electrical system and gear.
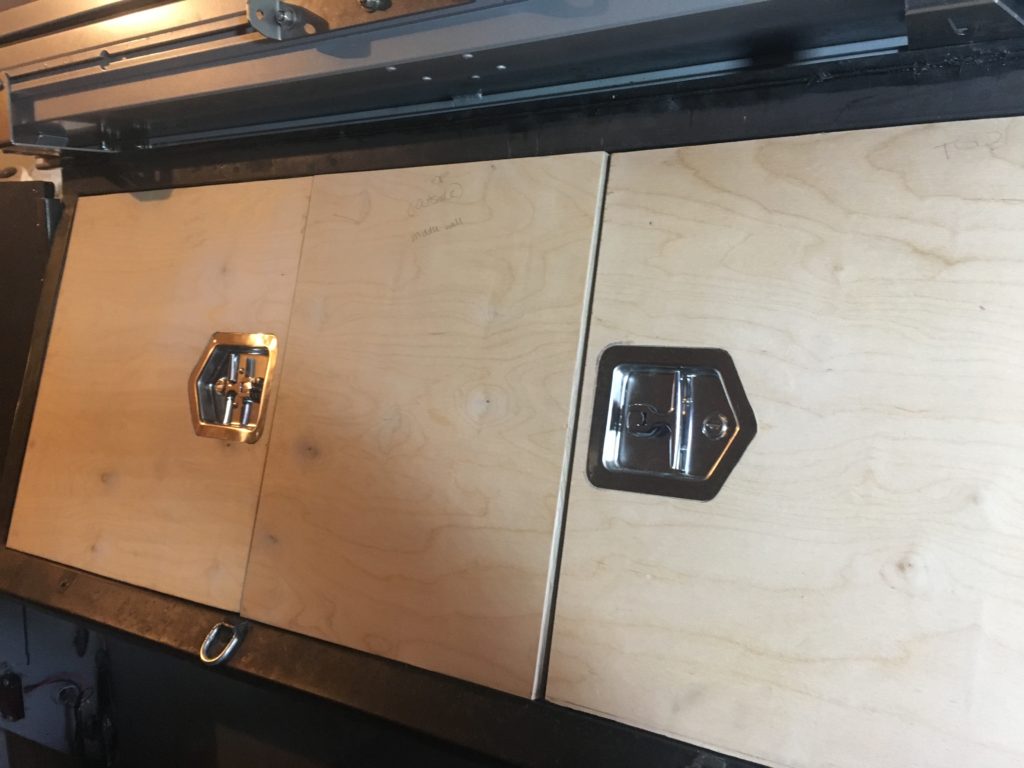
The drawer system was inspired by Doug “roadtripcrazed” on expedition portal: Check it out here! We built the drawers with 1/2″ birch plywood, used a dove tail cut for the joints and 1×2″ tubing for the slides. The drawer boxes were built with 3/4″ birch and have cutouts to save weight. We used skateboard bearings for the slides and Starboard marine grade HDP for a smooth gliding surface.
The Outside/Systems:
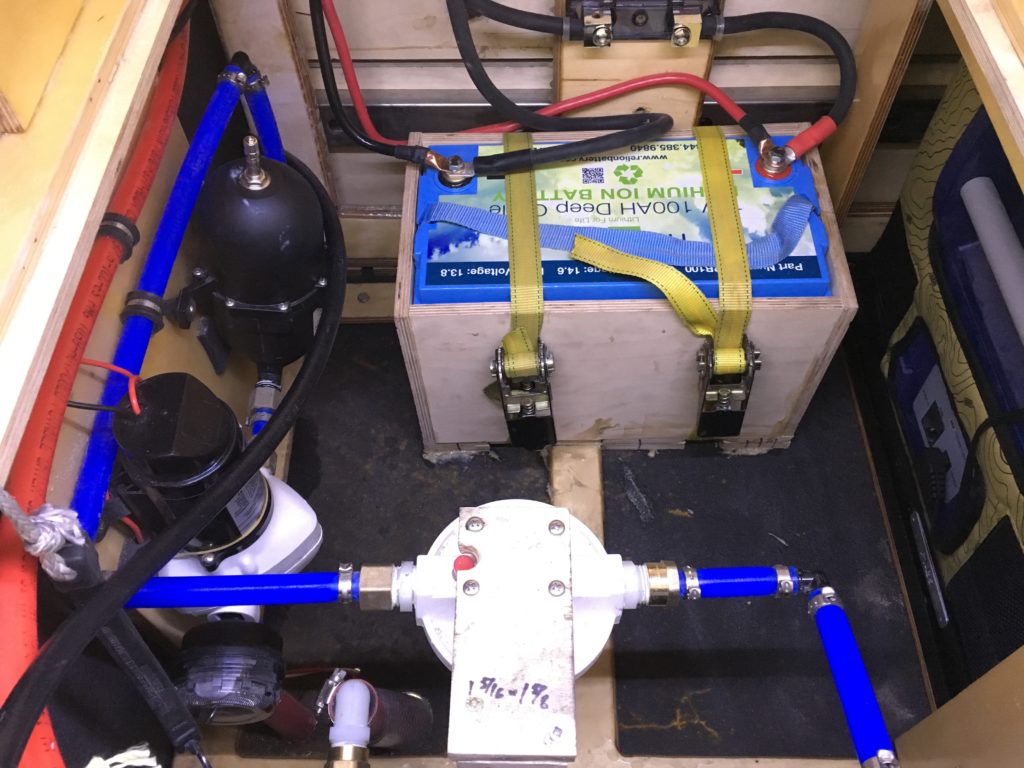
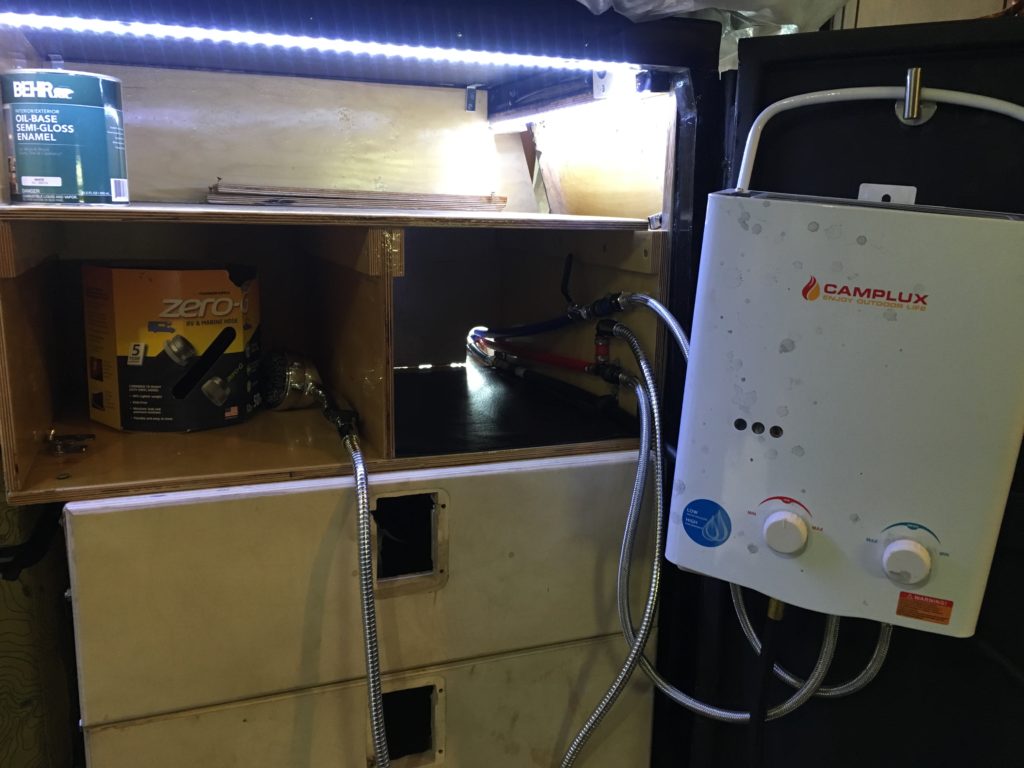
For the water system… We have a 20 gallon water tank, mounted under the trailer in front of the axel. This routes to a fill spout (gravity fed) mounted on the side of the trailer. It also routes up the inside of the trailer to our pump, accumulator and filtration system. We have a tankless hot water heater for showers and a hot/cold faucet in the sink area. The whole system is built with PEX and has heating pads/coils to prevent freezing. We will see how our setup works once we are in colder climates.
For our propane system… This is pretty simple. We have a 20gallon tank, mounted on the tongue. This feeds to our Coleman propane stove and our tankless water heater. We also have a separate 20′ line ready for our Mr. Buddy heater.
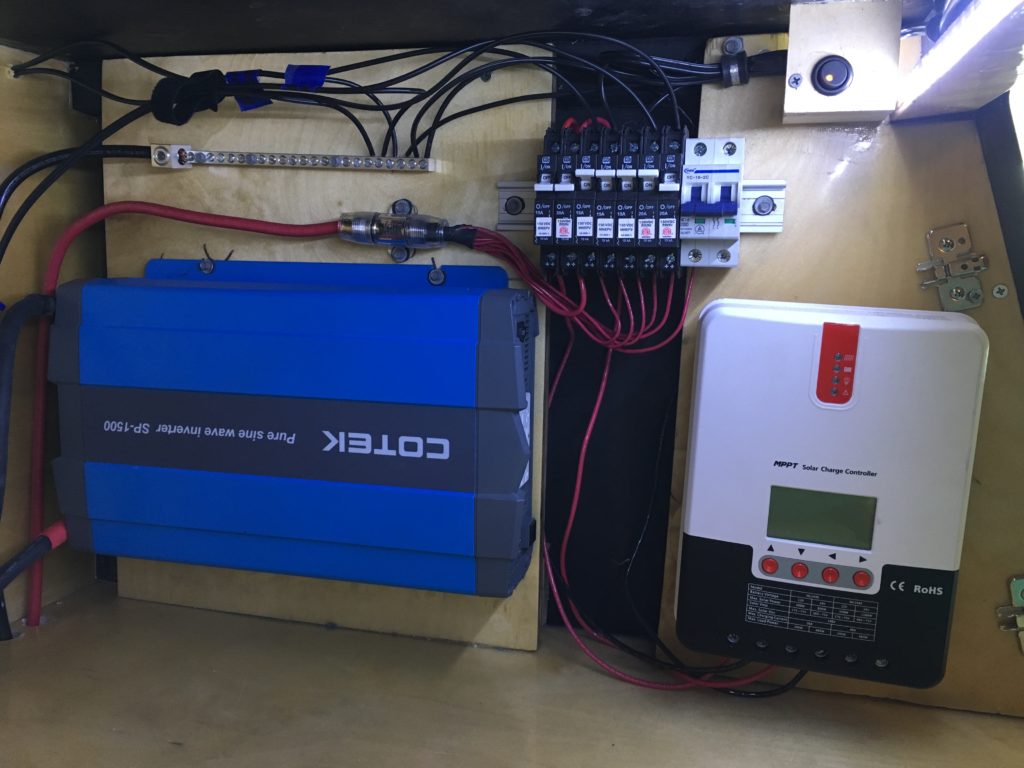
For the electrical system… We have a 100watt solar panel mounted on the roof. This runs to a control panel, which feeds into our Lithium Ion battery. We also have an inverter, so we are ready for any future charging we may need! The system powers the water pump, LED lights (everywhere), water tank heating pad and ARB Fridge. We currently have this all mounted in the gear cabinet.
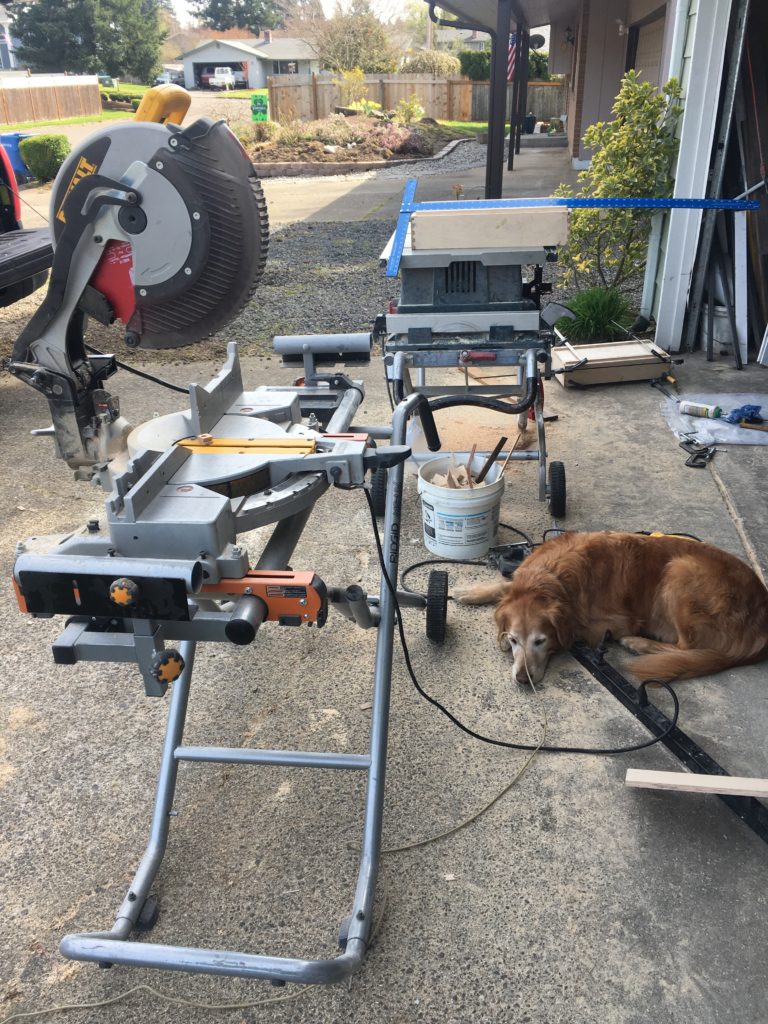
We will go into much greater detail in future posts but for now I hope you enjoyed the high-level overview. And a picture of one of our dog working hard!!
Now for the next step… Where to go??? 🙂